Apache,Nginx与Tomcat环境Ssl证书设置
下面整理我的部署过程,并收集了一下
一、下载证书
成功申请
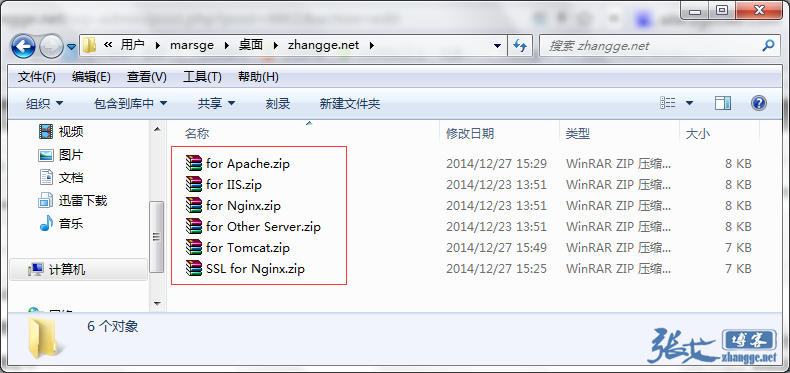
下载后,就可以根据不同的
二、Nginx
先确认
--with-http_ssl_module参数:
linux-test:~ # /usr/local/nginx/sbin/nginx -V nginx version: nginx/1.6.0 built by gcc 4.4.7 20120313 (Red Hat 4.4.7-4) (GCC) TLS SNI support enabled configure arguments: --prefix=/usr/local/nginx --with-http_ssl_module --with-openssl=/usr/local/src/openssl-1.0.1/ |
如果没有这个参数,说明没有编译
①、准备证书
Nginx
I. 证书公钥 (crt
格式) II. 证书私钥(key
格式)
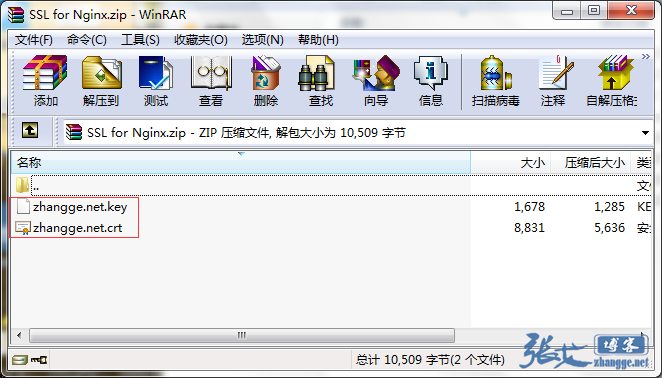
拿到证书后,将其上传到
②、修改配置
A. http
在原
server {
       listen 80;
       #新增监听443端口,并指定443为ssl:
       listen 443 ssl;
       server_name yourdomain.com;
       #新增ssl配置---开始:
       ssl_certificate /usr/local/nginx/ssl/yourdomain_bundle.crt; #证书公钥文件路径
       ssl_certificate_key  /usr/local/nginx/ssl/yourdomain.key;   #证书私钥文件路径
       ssl_session_timeout  5m;  #5分钟session会话保持
       ssl_protocols SSLv3 TLSv1 TLSv1.1 TLSv1.2;
       ssl_ciphers  HIGH:!ADH:!EXPORT56:RC4+RSA:+MEDIUM;
       #新增ssl配置---结束:
       location / {
                 #其他规则保持不变
        }
   }
|
保存配置之后,先执行如下命令测试配置是否正确:
linux-test:~ # /usr/local/nginx/sbin/nginx -s reload |
如无错误,现在应该可以顺利访问
http
B. 全局强制
如果是全局
是参考模板:
server{
      listen 80;
      server_name yourdomain.com;
      root  /path/for/yourdomain.com;
      location / {
          rewrite (.*) https://yourdomain.com$1 permanent;
      }
   }

 server {
       listen 443;
       server_name yourdomain.com;
       ssl on;
       ssl_certificate /usr/local/nginx/ssl/yourdomain_bundle.crt; #证书公钥文件路径
       ssl_certificate_key  /usr/local/nginx/ssl/yourdomain.key;   #证书私钥文件路径
       ssl_session_timeout  5m;
       ssl_protocols SSLv3 TLSv1 TLSv1.1 TLSv1.2;
       ssl_ciphers  HIGH:!ADH:!EXPORT56:RC4+RSA:+MEDIUM;
       location / {
                 #其他规则维持不变
        }
   }
|
C. 部分强制
可能有部分强迫症会有这样的需求:我只要部分页面强制
他常规页面强制
思路:和
具体可以参考一下张戈博客的配置(主要修改中文注释部分,其他配置保持不变):
#监听httpserver
server
        {
                listen 80;
                server_name zhangge.net m.zhangge.net;
                index index.html index.htm index.php default.html default.htm default.php;
                root  /home/web/zhangge.net;
                include zhangge.conf;
                location ~ /uploads/.*\.(php|php5)?$ {
                                deny all;
                        }
                #若是匹配到wp-login.php登陆,则跳到https
                location ~ /(wp-login\.php(.*)$) {
                        rewrite ^(.*)$ https://zhangge.net$1 permanent;
                        break;
                        }
                #wordpress后台强制跳到https
                location /wp-admin {
                        rewrite ^(.*)$ https://zhangge.net$1 permanent;
                        }

                location ~ [^/]\.php(/|$)
                        {
                                try_files $uri =404;
                                fastcgi_pass  unix:/tmp/php-cgi.sock;
                                fastcgi_index index.php;
                                include fastcgi.conf;
                        }
                location ~ .*\.(gif|jpg|jpeg|png|bmp|swf)$
                        {
                                expires      30d;
                        }

                location ~ .*\.(js|css)?$
                        {
                                expires      30d;
                        }
                access_log  /home/logs/zhangge.net.log  access;

        }
#监听https
server
        {
                listen 443;
                server_name zhangge.net m.zhangge.net;
                ssl on;
                ssl_certificate /usr/local/nginx/ssl/zhangge.net.crt;
                ssl_certificate_key  /usr/local/nginx/ssl/zhangge.net.key;
                ssl_session_timeout  5m;
                ssl_protocols SSLv3 TLSv1 TLSv1.1 TLSv1.2;
                ssl_ciphers  HIGH:!ADH:!EXPORT56:RC4+RSA:+MEDIUM;
                index index.html index.htm index.php default.html default.htm default.php;
                root  /home/web/zhangge.net;

                #有偿服务付款页面使用https访问
                location /wp-content/plugins/alipay {
                        try_files $uri $uri/ /index.php?$args;
                }

                #若没有匹配到wp-admin或wp-includes,则跳到http访问(反向逻辑:即只允许指定页面开启https)
                location / {
                        if ($request_uri !~* "wp-admin|wp-includes") {
                                rewrite (.*) http://zhangge.net$1 permanent;
                        }
                }

                location ~ /uploads/.*\.(php|php5)?$ {
                                deny all;
                        }
                location ~ [^/]\.php(/|$)
                        {
                                try_files $uri =404;
                                fastcgi_pass  unix:/tmp/php-cgi.sock;
                                fastcgi_index index.php;
                                include fastcgi.conf;
                        }

                location ~ .*\.(gif|jpg|jpeg|png|bmp|swf)$
                        {
                                expires      30d;
                        }

                location ~ .*\.(js|css)?$
                        {
                                expires      30d;
                        }
                access_log  /home/wwwlogs/zhangge.net.log  access;

        }
|
二、Apache
同样,先确认
①、准备证书
Apache
I. 根证书:root_bundle.crt
II. 证书公钥:yourdomain.com.crt
III. 证书私钥:yourdomain.com.key
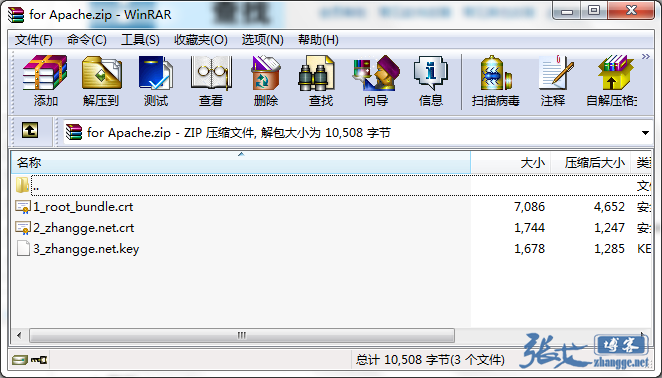
将下载好的三个证书文件,上传到
②、修改配置
I. 编辑
#LoadModule ssl_module modules/mod_ssl.so #Include conf/extra/httpd-ssl.conf |
II. 编辑
#找到如下行,并替换为证书公钥的实际路径: SSLCertificateFile /usr/local/apache/ssl/public.cer #找到如下行,并替换为证书私钥的实际路径: SSLCertificateKeyFile /usr/local/apache/ssl/private.key #找到如下行,取消行首注释符,并替换为根证书实际路径: #SSLCertificateChainFile /usr/local/apache/ssl/ca.cer |
III. 保存退出,并重启
三、Tomcat
①、准备证书
Tomcat
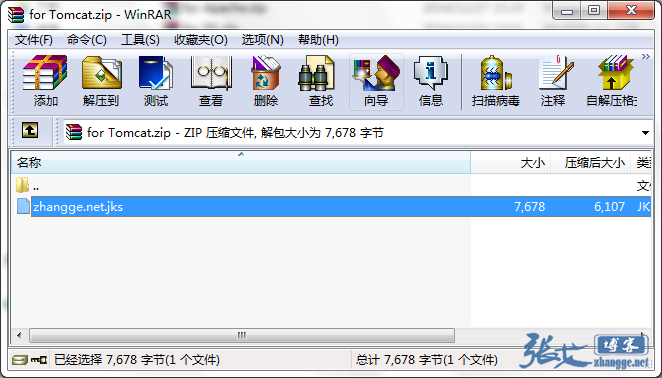
拿到文件后,将其上传到
②、修改配置
打开
 <!--
   <Connector port="8443" protocol="HTTP/1.1" SSLEnabled="true"
              maxThreads="150" scheme="https" secure="true"
              clientAuth="false" sslProtocol="TLS" />
 -->
|
去掉前后的注释,并如下修改(或者直接其后添加以下代码亦可):
<Connector
     port="443"
     protocol="org.apache.coyote.http11.Http11Protocol"
     SSLEnabled="true"
     maxThreads="150"
     scheme="https"
     secure="true"
     keystoreFile="conf\yourdomain.jks"  <!-- 此处填写你上传的证书的实际路径 -->
     keystorePass="password"
     clientAuth="false"
     sslProtocol="TLS"
/>
|
退出并保存,最后重启
四、解决警告
如果网页中存在不带
览器(比如
页面错乱等问题:

解决办法:
方法①、使用相对地址
只要将这些
教程
方法②、修改网站代码
如果是全局
那么准备
为了省事,我推荐方法①。
好了,本文就写到这,希望能解您的燃眉之急!
评论已关闭!